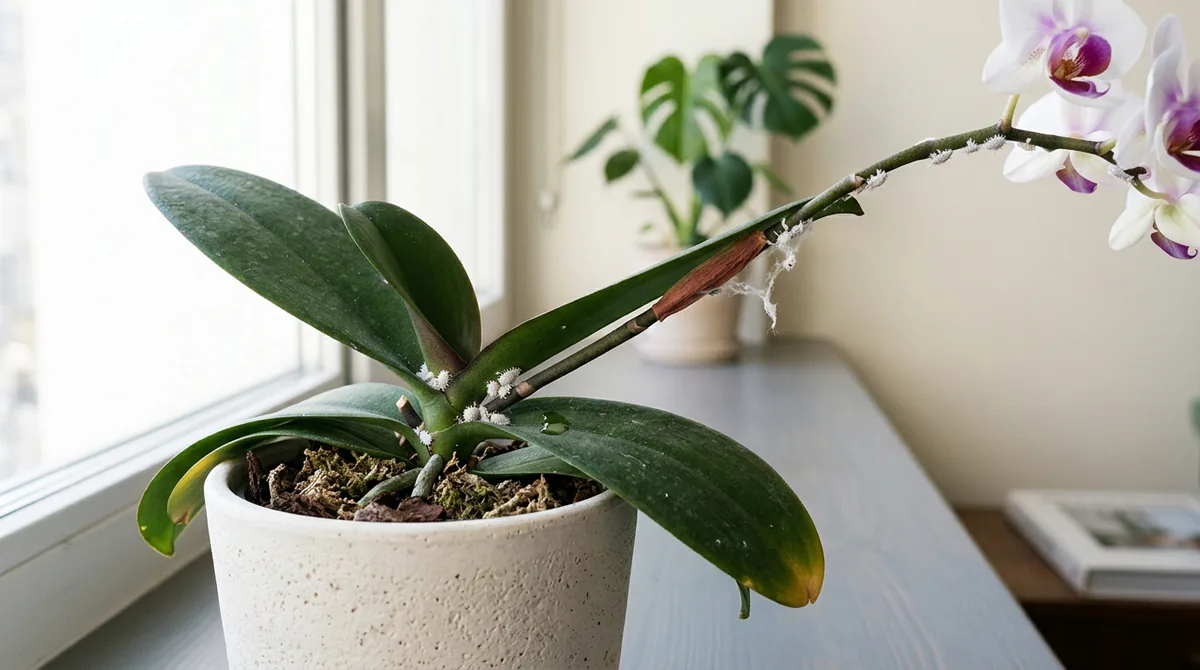
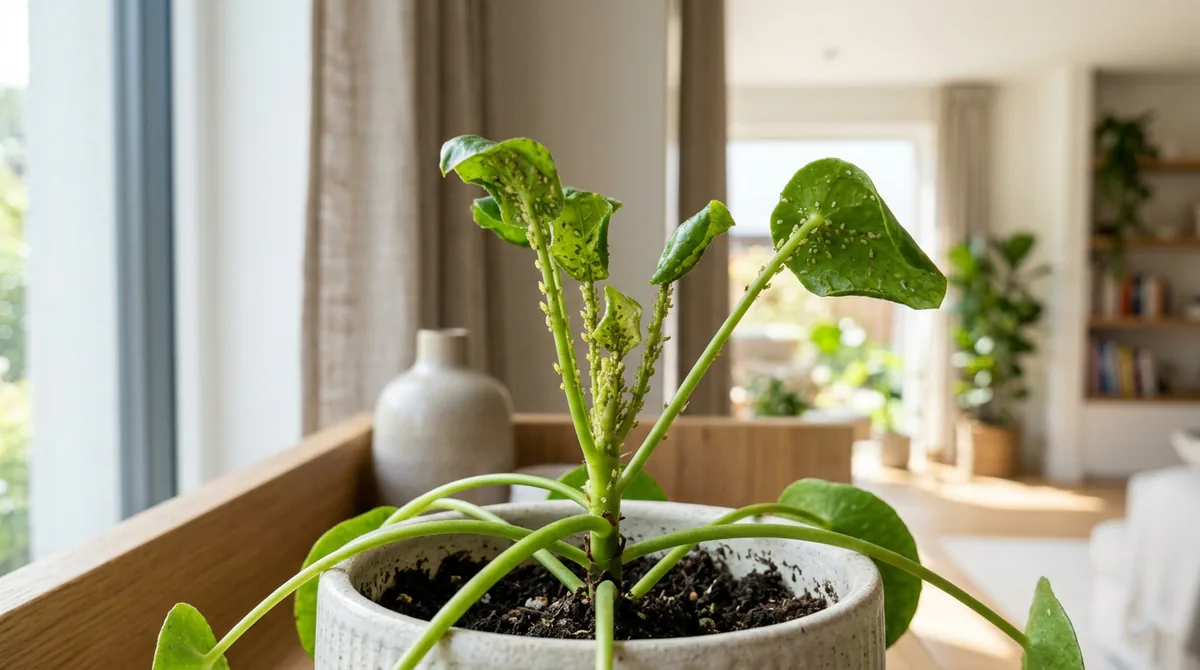
Mealybugs on plants often cause panic because white cottony patches seem easy to wipe away, then reappear from hidden node or root pockets a week later.
Mealybugs on Plants

Quick Diagnosis
Mealybugs: quick diagnosis
Short answer
mealybugs on plants are most reliably controlled when you confirm active stages, apply targeted treatment, and recheck on a fixed cadence.
Most likely causes
- Early mealybugs activity missed on undersides and nodes
- Treatment cadence too short to break egg-to-adult cycles
- Plant isolation and sanitation gaps that spread infestation
- Environmental conditions that accelerate recurrence
What to do first
- Inspect newest growth, undersides, nodes, and soil line before spraying.
- Isolate affected plants and remove high-density clusters first.
- Apply isopropyl alcohol swabs plus insecticidal soap with full surface coverage and runoff control.
- Repeat treatment spot clean every 3 days and spray every 7 days for 3 weeks and reassess with the same checklist.
What not to do yet
- Do not stop after one visible cleanup.
- Do not rotate random sprays without a treatment cadence.
- Do not skip nearby-plant inspection when one plant tests positive.
Quick answer
Quick answer: Hidden mealybugs colonies. Mealybugs control works best when lifecycle timing, full-contact coverage, and follow-up cadence are all executed together.
- Early sign: subtle feeding marks appear before heavy visible clusters in mealybugs.
- Mid sign: active movement or residue expands on newest growth and undersides.
- Later sign: plant stress and repeat outbreaks continue despite one-off cleanup.
What it looks like, where it hides, and what damage it causes
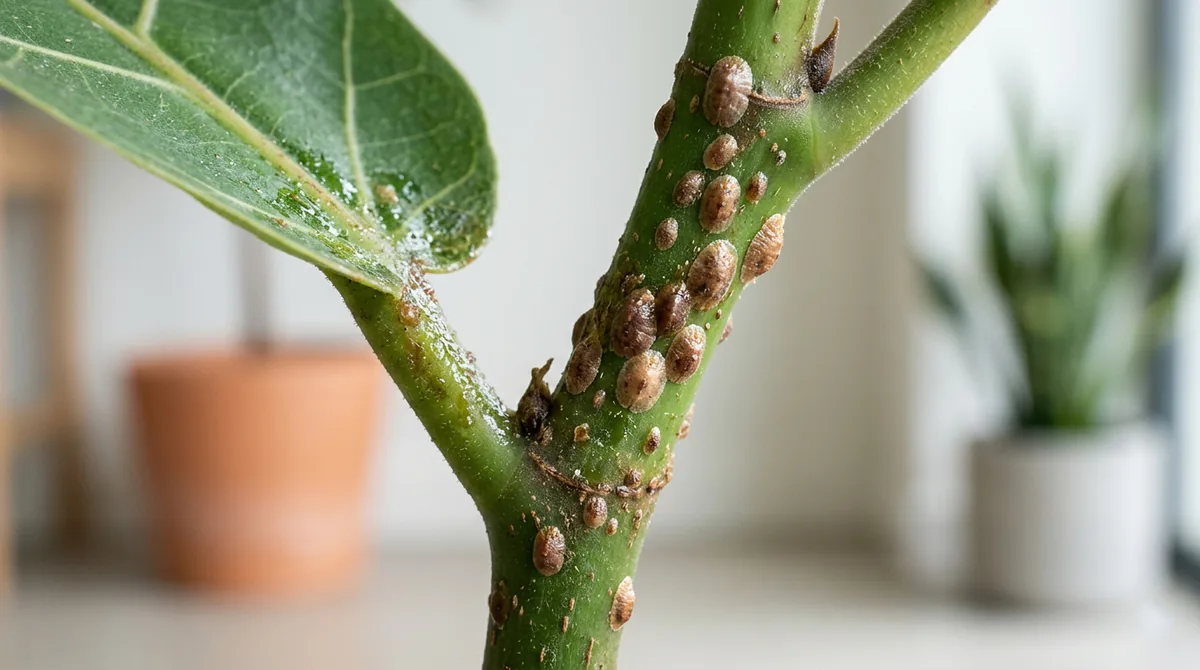
What it looks like
Cottony white tufts, sticky residue, and sometimes black sooty mold on leaves below feeding sites.
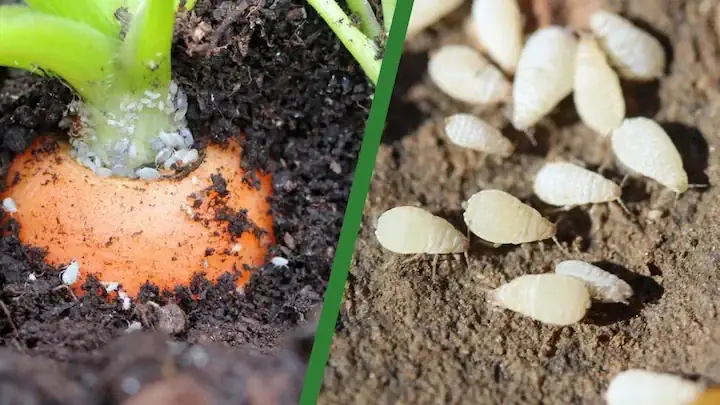
Where it hides
Node pockets, leaf sheaths, crown tissue, and sometimes roots under the top layer of medium.
What damage it causes
Starts as isolated tufts, then progresses to sticky foliage, stunting, and repeated dieback of new growth.
Diagnosis matrix
Match what you see to the most likely explanation and immediate next check.
| Signal | Most likely meaning | Confidence | Next check |
|---|---|---|---|
| Cottony masses at nodes | Classic mealybug colony | High | Swab one patch; if body smears, active mealybugs are present. |
| Sticky leaves and black soot | Honeydew-producing pests | High | Inspect overhead stems for mealybugs or scale. |
| Rebound after wiping visible tufts | Hidden reservoirs | Medium | Inspect crown and root line for root mealy signs. |
| Decline with no obvious top pests | Possible root mealybugs | Medium | Check root ball and pot edges during repot inspection. |
Symptoms to check first
Start with what you can clearly see right now before changing treatment or care variables.
Mealybugs feeding marks
Look for early tissue change that matches mealybugs feeding style.
Mealybugs cluster zones
Check nodes, petiole bases, and undersides where colonies persist.
Spread pattern over 72 hours
Track whether activity expands to new leaves between checks.
Stress response overlap
Compare pest damage with watering/light stress before overcorrecting care.
Where to check on the plant
Inspect these locations before locking your diagnosis.
Newest leaves and growth tips
Mealybugs often target tender tissue first.
Leaf undersides and veins
These are common hiding zones with lower treatment exposure.
Nodes, petioles, and stem creases
Protected creases can preserve survivors after sprays.
Soil line and pot rim zones
Lifecycle spillover near the root zone can sustain recurrence.
What this gets confused with
Use this quick contrast to reduce misdiagnosis before treatment.
Scale insects
Scale are armor-like and fixed; mealybugs are cottony and often found in clusters.
White fungal residue
Fungal residue lacks insect segmentation and sticky honeydew patterns.
Mineral crust near soil
Mineral buildup is gritty and static, not soft colonies in living tissue pockets.
Why this happens
Choose the closest driver first, then run one correction at a time.
Lifecycle cadence mismatch
What it looks like: New activity appears even though one treatment was applied.
Why it happens: Mealybugs egg and juvenile stages survive single-pass treatments and emerge later.
First correction: Run a scheduled treatment window spot clean every 3 days and spray every 7 days for 3 weeks without gaps.
Coverage and contact gaps
What it looks like: Only top leaf surfaces look treated while lower surfaces remain active.
Why it happens: Contact products fail for mealybugs when spray does not reach active feeding zones.
First correction: Use full-surface contact strategy and rotate plant angles during application.
Reintroduction from nearby hosts
What it looks like: Infestation returns after temporary improvement.
Why it happens: Mealybugs pressure returns when neighboring plants and tools are left untreated.
First correction: Inspect and stage-treat nearby plants plus sanitation touchpoints.
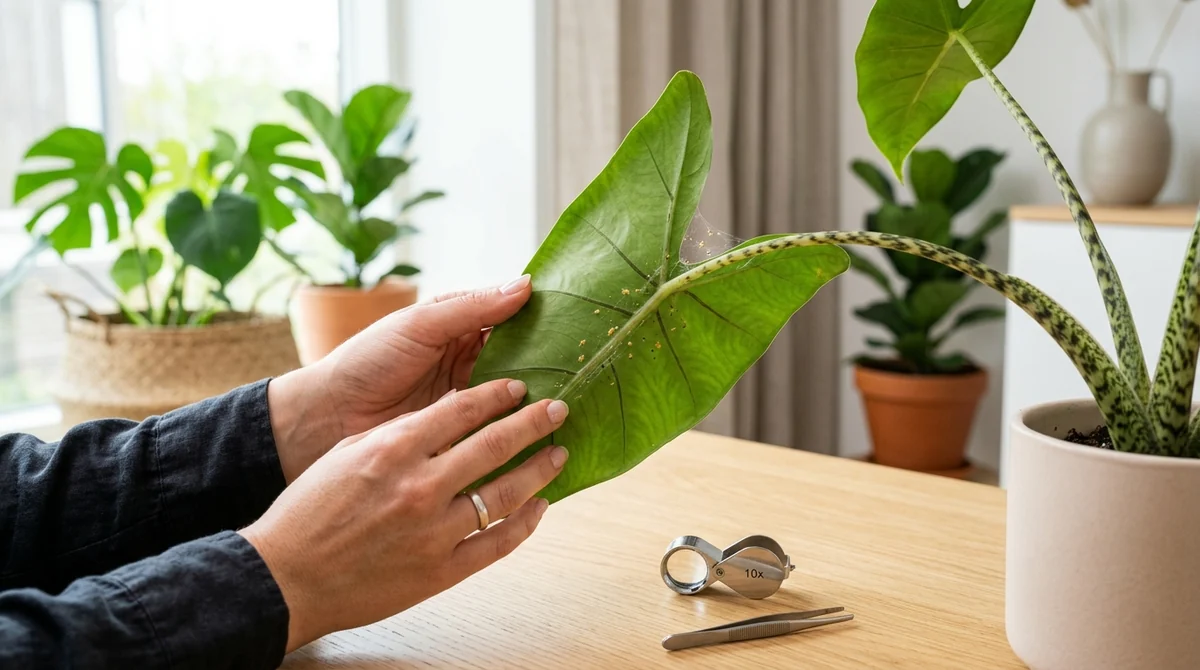
How to confirm it
Before you treat, run these checks to confirm you are targeting the right problem.
-
Tap-test and lens check on suspect tissue
Live mealybugs stages or fresh residue appear in active zones.
-
Repeat photo comparison after 48 to 72 hours
Untreated activity expands in predictable clusters.
-
Coverage audit after treatment
Both upper and lower surfaces receive consistent contact.
-
Nearby plant sweep
Potential reinfestation sources are identified before recurrence.
Treatment decision tree
Choose the next action based on current evidence instead of guessing.
-
Do cottony clusters smear when swabbed?
If yes: Treat as mealybugs and isolate affected plants.
If no: Recheck for scale shields or inert residue.
-
Is honeydew or sooty mold present?
If yes: Expand cleaning to leaves below feeding zones.
If no: Focus on hidden node and sheath inspection.
-
Do mealy signs return after top-only cleanup?
If yes: Suspect crown/root reservoirs and inspect root zone.
If no: Maintain cadence until two clean checks pass.
Treatment cadence and repeat intervals
- Interval: spot clean every 3 days plus spray weekly
- Rounds: 3 weeks minimum
- Recheck window: node and crown checks every 72 hours
- Stop rule: Stop only when nodes and crown stay clear for 14 days.
Signs it is improving vs signs it is getting worse
Improving signs
- No fresh cottony clusters in nodes between checks.
- Sticky film decreases after leaf cleaning.
- New growth emerges without deformation or stunting.
Worsening signs
- New white tufts reappear in crown pockets quickly.
- Honeydew persists and sooty mold expands.
- Plant vigor declines despite repeated top-only wiping.
How to fix it
Follow the sequence without skipping repeat cycles.
Step 1 - Isolate and map
Separate affected plants and mark high-density zones.
Step 2 - Remove heavy clusters
Use manual cleanup where density is highest before spraying.
Step 3 - Apply targeted treatment
Use isopropyl alcohol swabs plus insecticidal soap at labeled rate with complete surface coverage.
Step 4 - Repeat on cadence
Repeat treatment spot clean every 3 days and spray every 7 days for 3 weeks to break lifecycle overlap.
Step 5 - Reassess and adjust
Recheck active zones and upgrade strategy if spread continues.
⚠ Escalate quickly if you notice:
- New mealybugs damage appears on fresh growth within 2 to 4 days.
- Mealybugs residue, spotting, or stippling expands between checks.
- Multiple nearby plants begin showing mealybugs activity.
How to prevent it
Use these habits to reduce reinfestation risk and catch activity early.
-
Weekly underside inspection
Mealybugs outbreaks are easier to stop before cluster density rises.
-
Quarantine new plants
Isolation reduces hidden mealybugs transfer into established collections.
-
Tool and surface sanitation
Clean touchpoints reduce accidental mealybugs spread after treatment sessions.
-
Environment stability checks
Moisture and airflow balance reduce stress that can amplify mealybugs pressure.
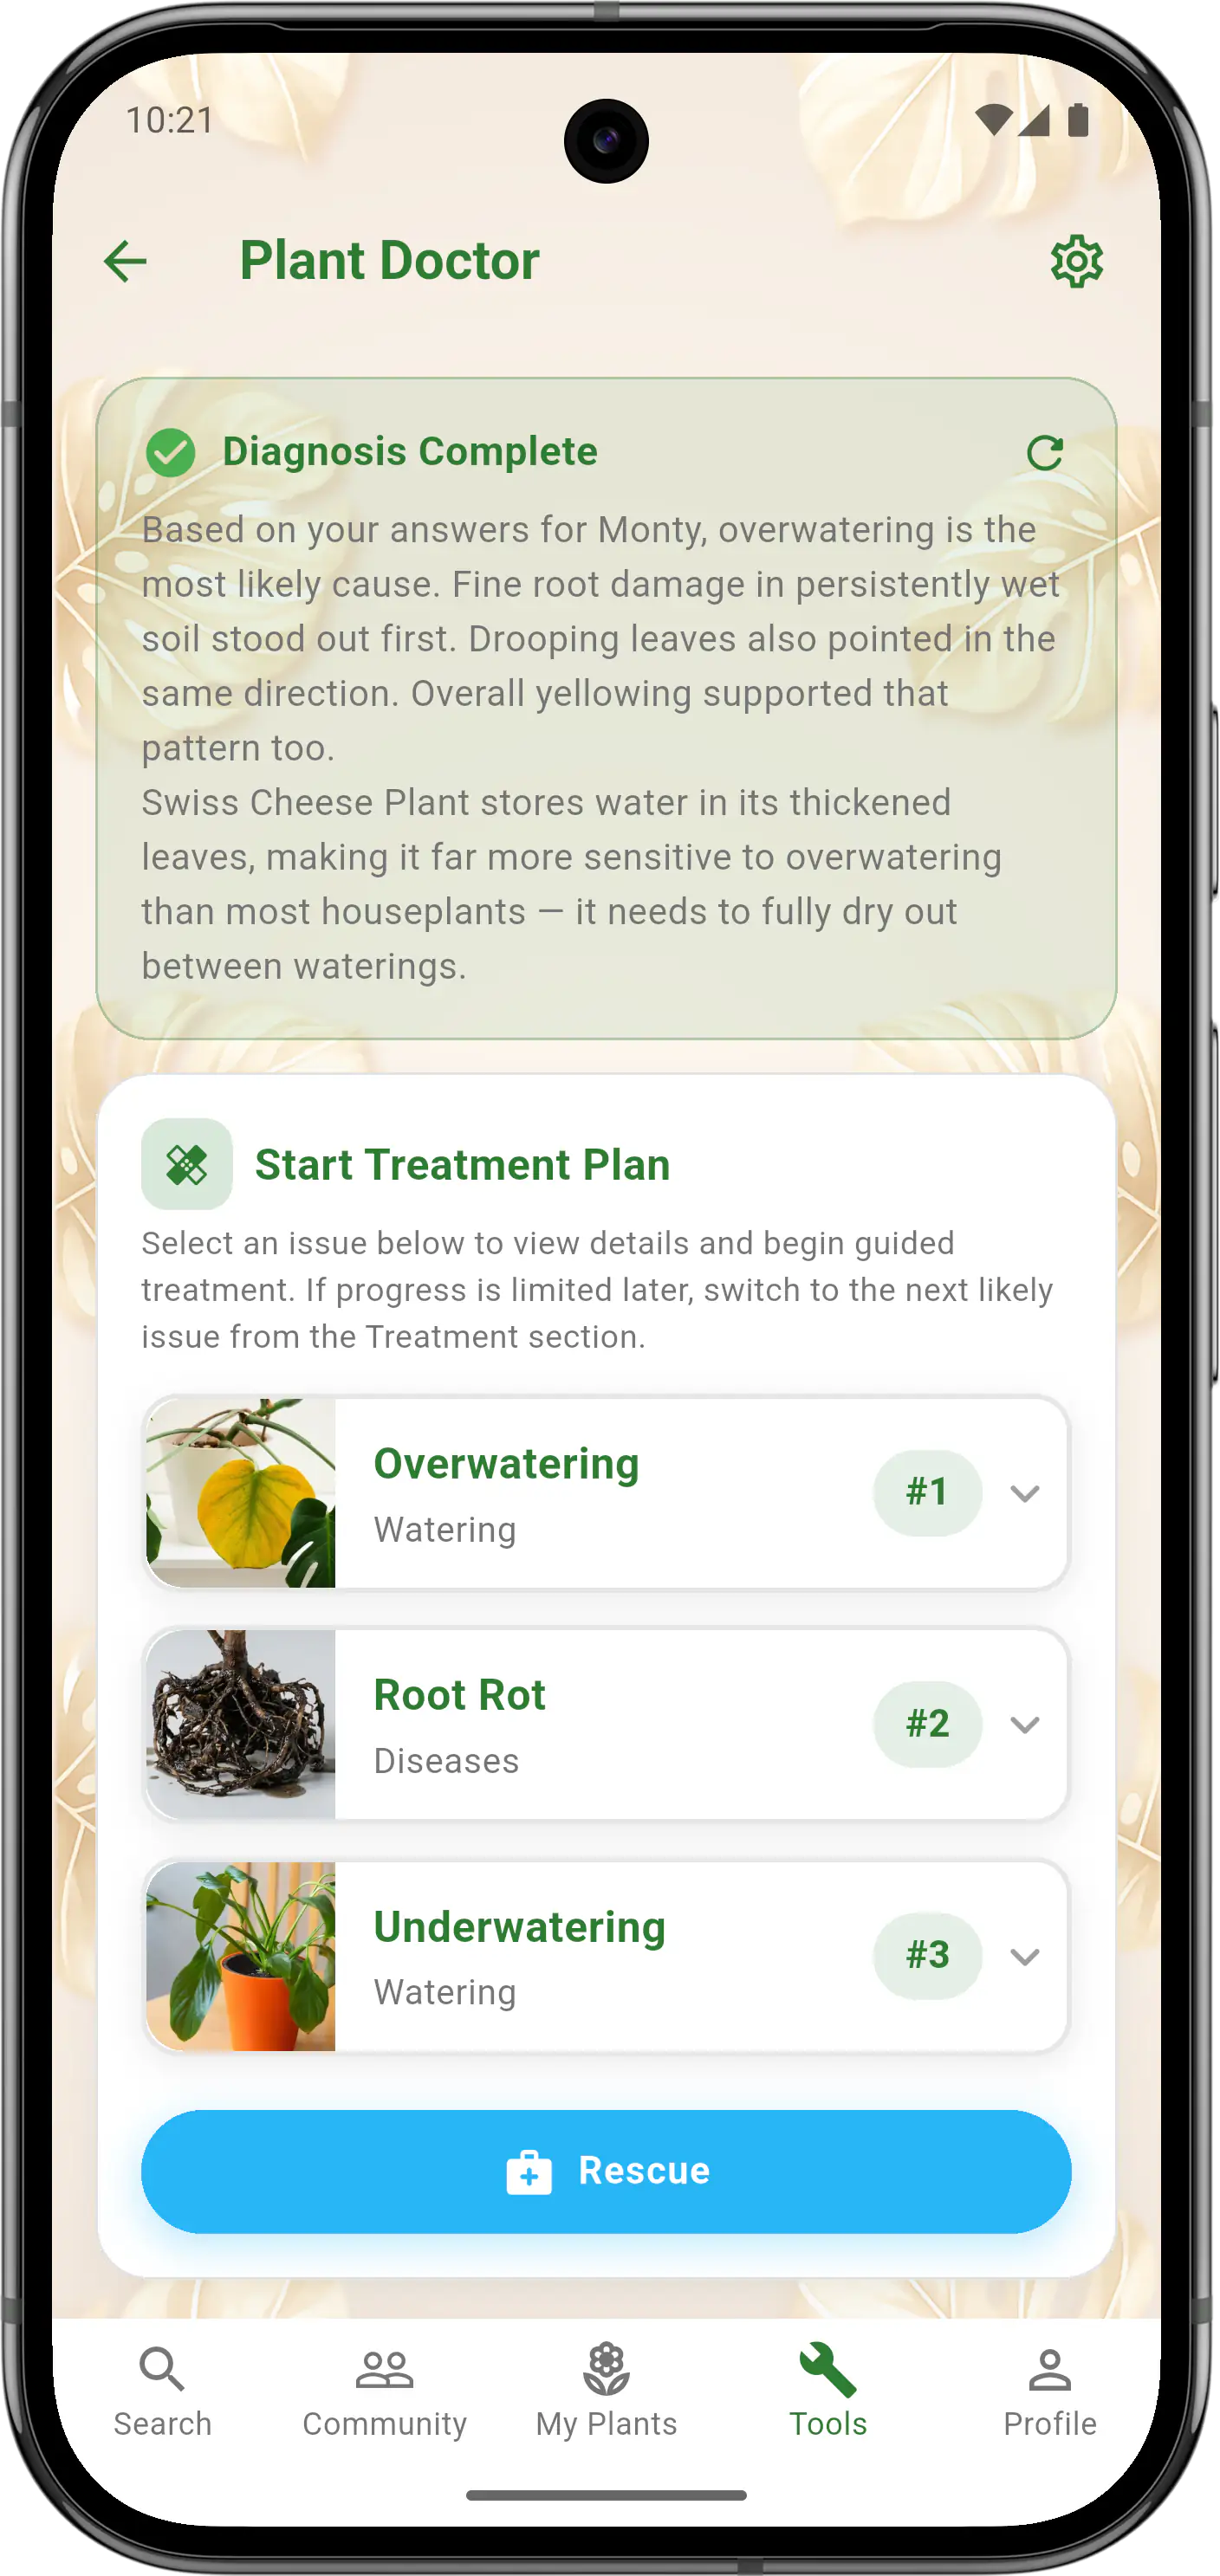
Plant Doctor
Control pests with a repeatable treatment plan
Use Plant Doctor to identify likely pests and follow practical treatment cadence with reassessment reminders.
Pattern clarity
Helps you spot patterns you might miss when symptoms overlap.
Cause separation
Uses recent care history and symptom changes to narrow likely causes.
Guided next steps
Supports observation over time so fixes stay consistent and practical.
Frequently Asked Questions
Usually no, because visible tufts are only part of the population. Hidden pockets in nodes and crown tissue often seed a rebound unless cadence continues for multiple weeks.
If top growth declines without obvious leaf colonies and pests keep returning after cleanup, inspect roots and the pot edge. Root mealybugs look like white cottony clusters in the root zone.
Mealybugs are soft and cottony, while scale are hard, shield-like bumps fixed to stems. A swab test that smears soft bodies points to mealybugs.
That dark coating is usually sooty mold feeding on honeydew from sap-sucking pests. It signals an active or recent infestation above the mold location.
Continue at least one to two additional inspection windows after apparent clearance, because hidden juveniles can emerge late. Stopping immediately after visual improvement is a common failure point.
Treat Pests With Better Consistency
Use Plant Doctor to follow a practical pest-control cadence and reduce reinfestation risk.
- Identify likely pests faster
- Follow repeatable treatment steps
- Reduce reinfestation risk