How to Repot Orchid works best when you follow a staged method, verify root-zone conditions, and track response after each change. Use this guide to make one clear adjustment at a time instead of rushing through several care changes.
How to Repot Orchid


Quick Action Overview
At a glance: what to do first
Start repot only after confirming current root and moisture condition.
Use clean tools and one clear sequence from preparation to follow-up.
Track response over 7 to 14 days before changing multiple variables.
Link task timing to growth stage and environment, not fixed dates only.
Core Explanation
How Orchid Repot actually works
Orchid repot works best when steps are staged and tracked instead of rushed.
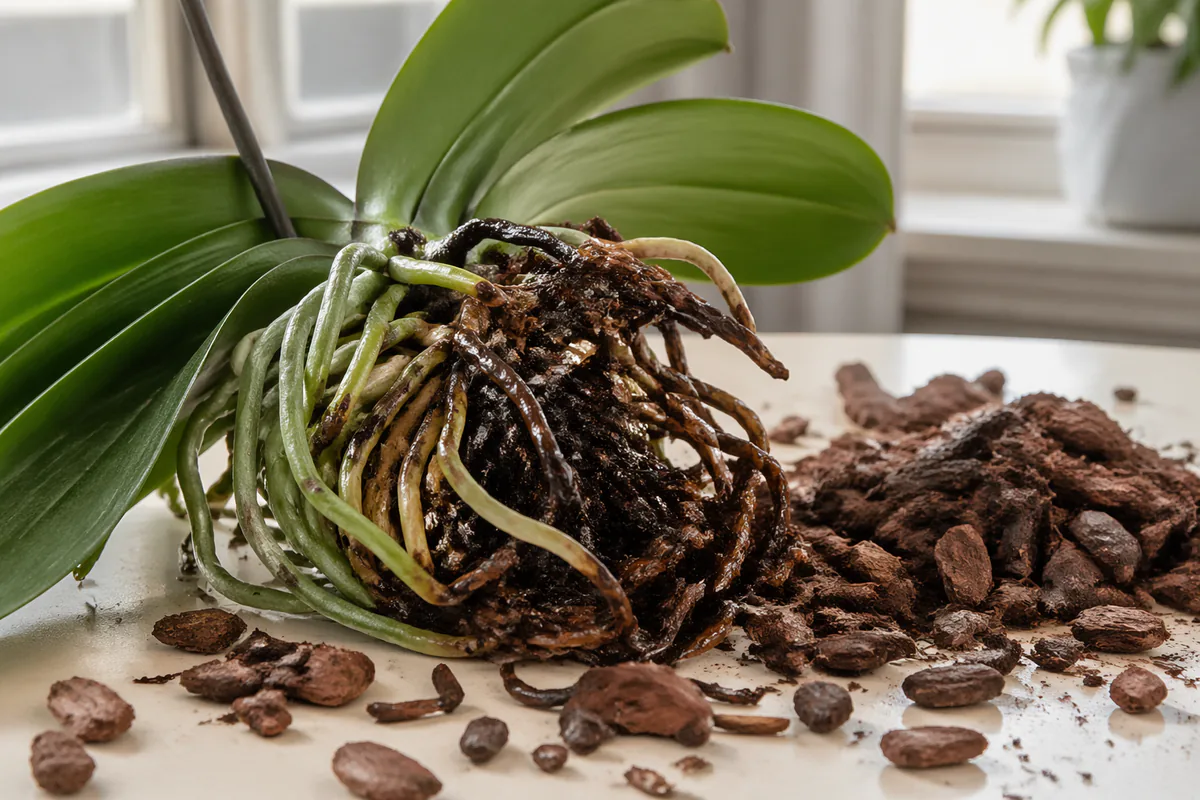
Root health
Healthy roots determine how well plants handle repotting, propagation, and watering changes.
Light consistency
Stable light improves recovery speed after care tasks.
Substrate structure
Airflow and drainage quality shape outcomes more than product labels.
If symptoms overlap, compare orchid problems and orchid root rot before making multiple changes.
Step-By-Step System
Build a repeatable Orchid Repot system
Step 1 - Assess current condition
Check orchid roots, moisture, and growth stage before starting.
Target range: Reduce avoidable stress before intervention.
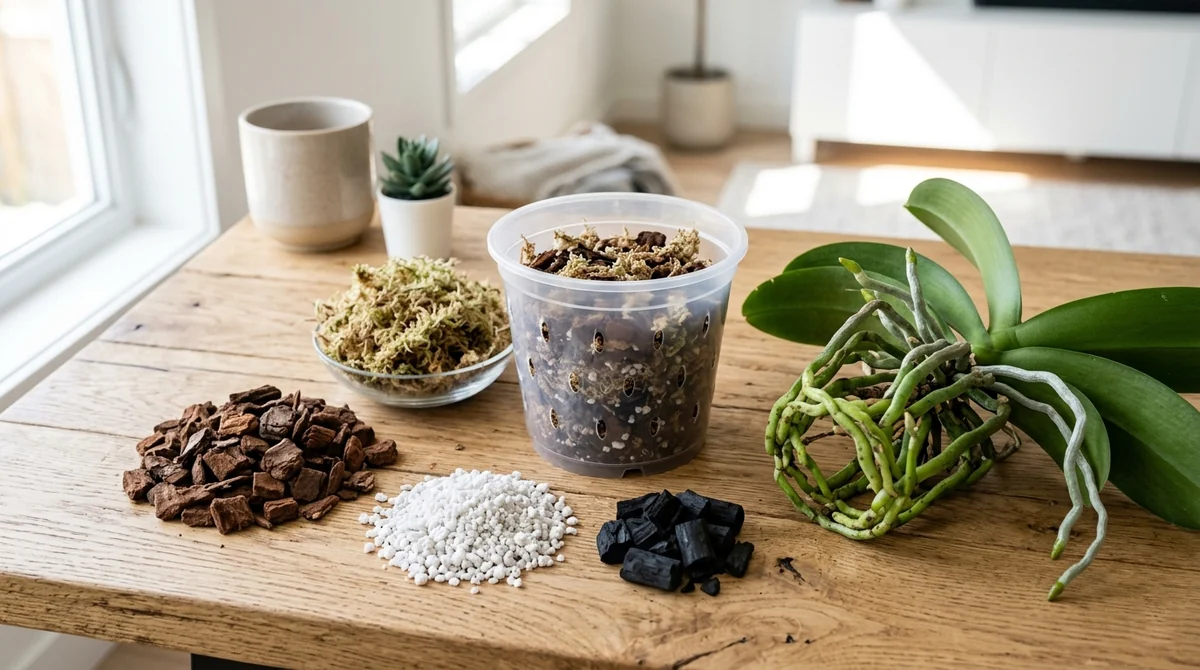
Step 2 - Prepare tools and medium
Use clean tools and suitable substrate so roots are not set back.
Target range: Create stable recovery conditions from day one.
Step 3 - Execute one clear method
Apply repot in one controlled pass instead of repeated partial changes.
Target range: Lower shock and keep cause-effect visible.
Step 4 - Follow up with monitoring
Track moisture, leaf response, and new growth for two weeks.
Target range: Confirm recovery before adding new interventions.
Why This Works
Why condition-based Orchid Repot decisions are more reliable
Most Orchid Repot problems come from timing mismatches, not effort. When routine and plant demand drift apart, stress builds before symptoms become obvious.
A condition-based approach lowers over-correction. You verify real signals first, then make one change at a time so results are easier to read.
This creates a repeatable system you can adapt through season changes without resetting your entire routine.
Key Variables
Use these variables as your control panel
Root health
Healthy roots determine how well plants handle repotting, propagation, and watering changes.
Light consistency
Stable light improves recovery speed after care tasks.
Substrate structure
Airflow and drainage quality shape outcomes more than product labels.
Common Mistakes
Errors that create avoidable stress
Starting without baseline checks
You can miss hidden root stress and compound the problem.
Do this instead: Log moisture and root condition before changing anything.
Using the wrong medium timing
Poor drainage or compacted mix slows recovery.
Do this instead: Match substrate to the task and growth stage.
Stacking changes in the same week
Conflicting signals make recovery harder to evaluate.
Do this instead: Implement one major task and review after 7 to 14 days.
Practical Ranges
Concrete ranges you can apply immediately
Assess current condition
Action
Check orchid roots, moisture, and growth stage before starting.
Target range
Reduce avoidable stress before intervention.
Prepare tools and medium
Action
Use clean tools and suitable substrate so roots are not set back.
Target range
Create stable recovery conditions from day one.
Execute one clear method
Action
Apply repot in one controlled pass instead of repeated partial changes.
Target range
Lower shock and keep cause-effect visible.
Real Example
Case study: Orchid task scenario
Situation
Use repot as a controlled process with staged checks, not a one-click fix.
Mistake
Day 0: baseline checks and prep
Adjustment
Day 1: complete the task once with clean tools
Result
Days 2-14: monitor moisture and new growth response
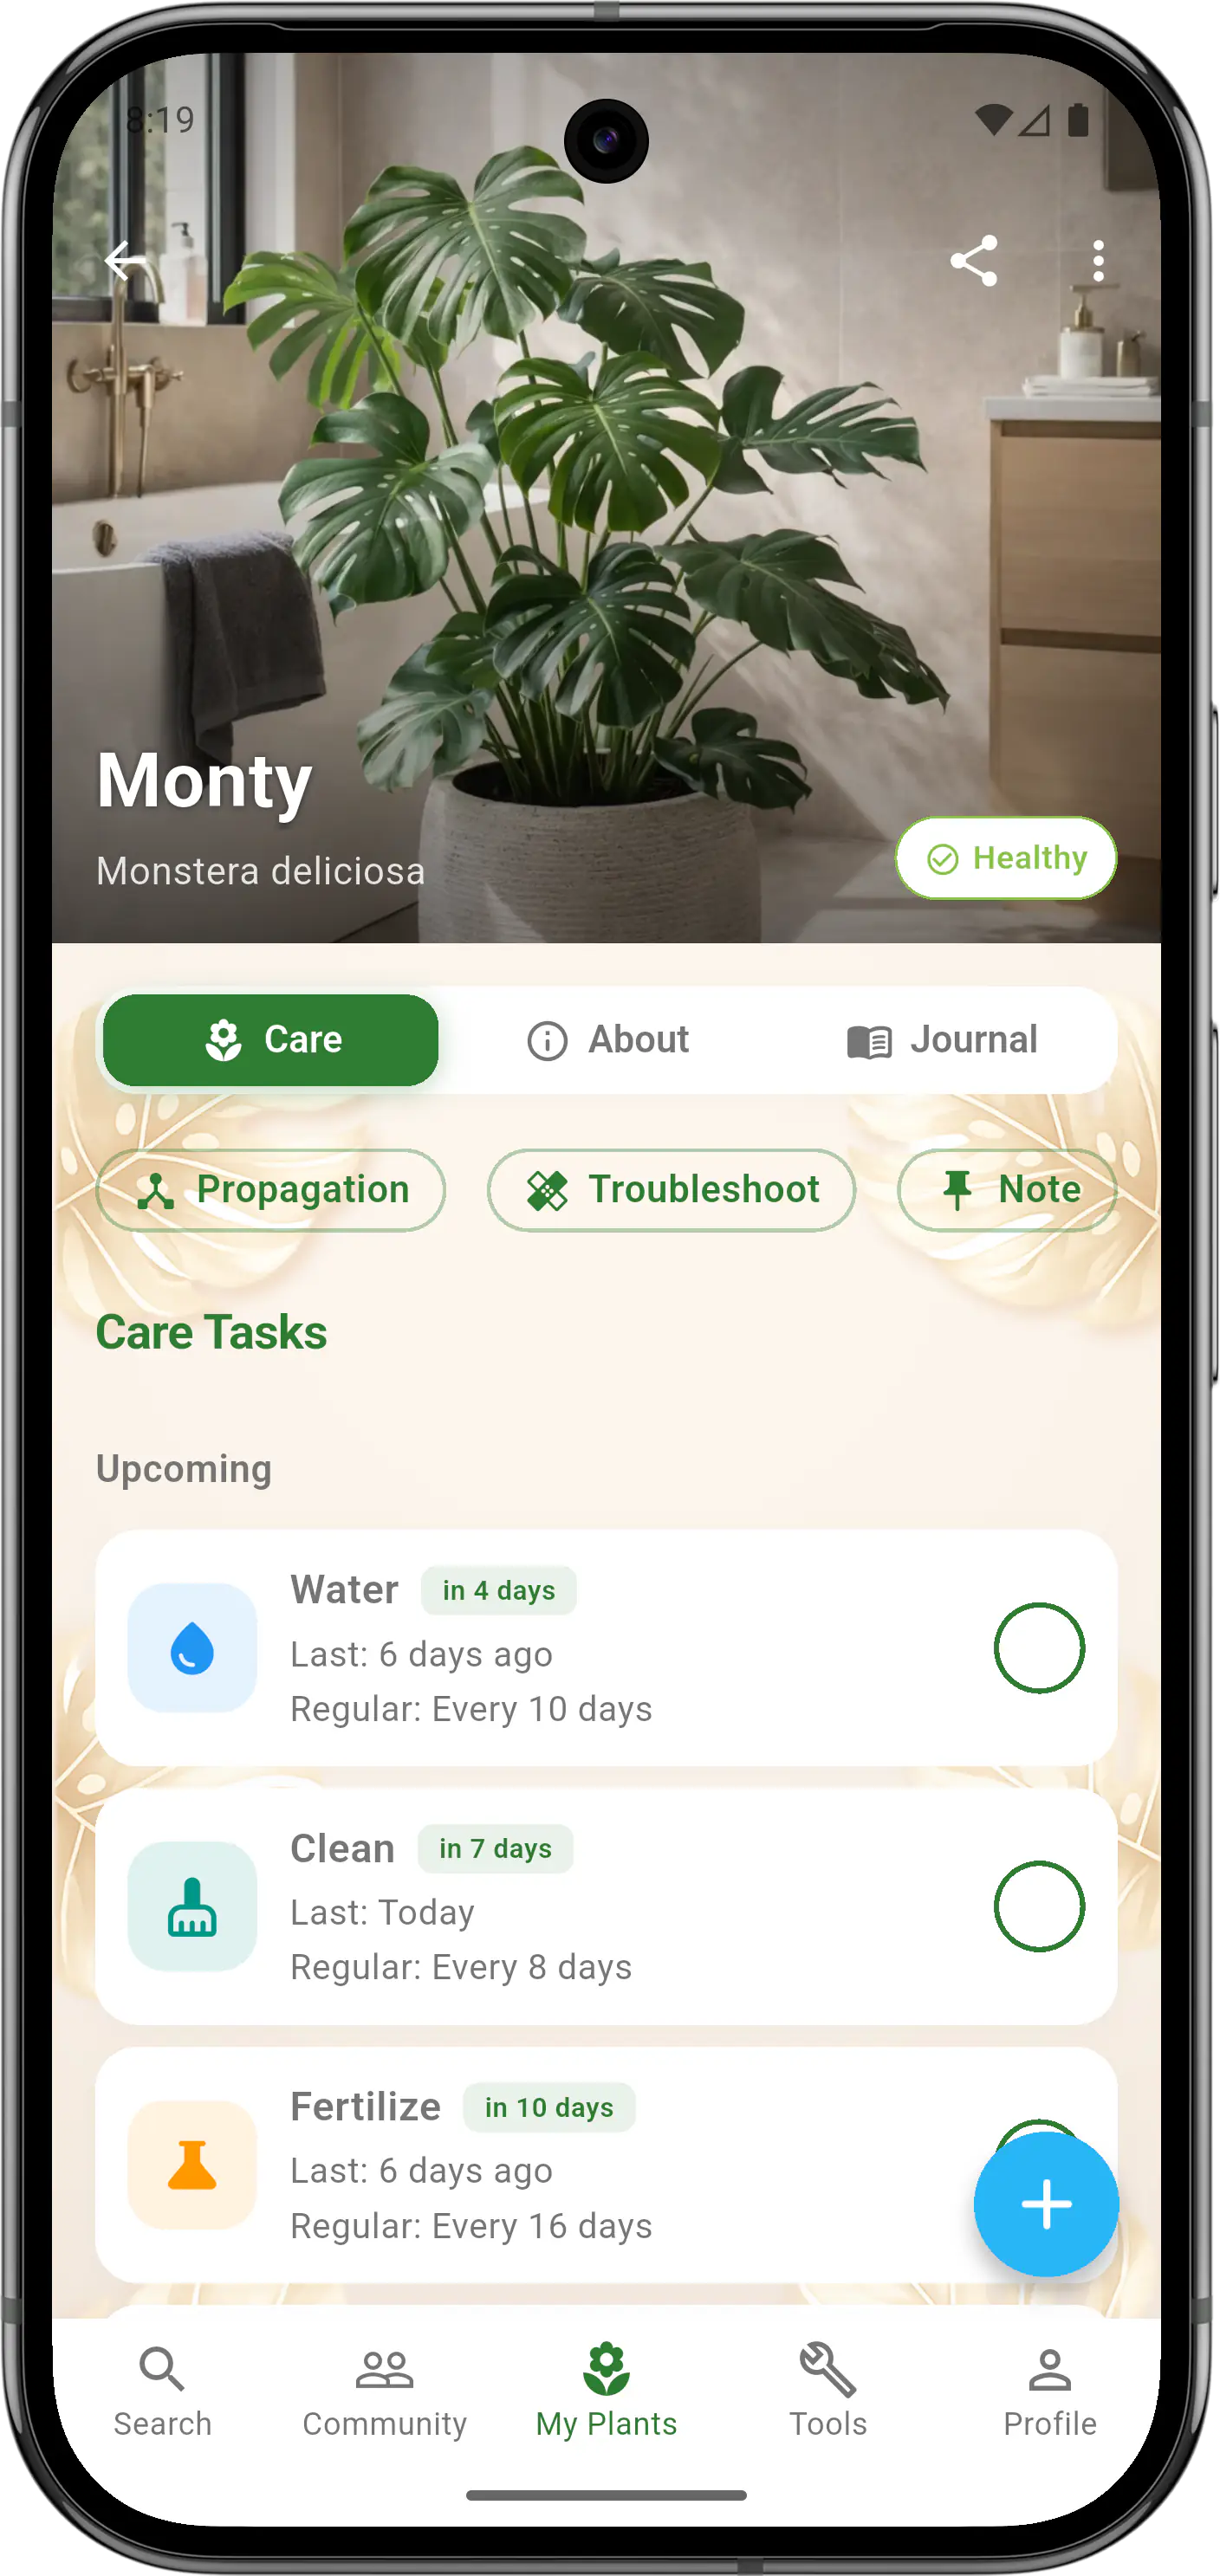
Smart Care
Track care tasks and keep your schedule consistent
Use Smart Care to track watering, repotting, and follow-up checks so care tasks stay organized.
Stay consistent
Helpful reminders keep watering, feeding, and repotting on track.
See what is working
Care history helps you notice patterns before problems get worse.
Adjust with confidence
Simple guidance helps you improve your routine over time.


Frequently Asked Questions
For how to repot orchid, start by checking moisture depth, root condition, and current stress level before you begin. This prevents avoidable setbacks and keeps the method clean for orchid.
With how to repot orchid, the most common mistake is stacking too many changes at once. Keep one primary correction and track orchid response for at least one week.
After how to repot orchid, monitor for 7 to 14 days and prioritize new growth signals over old damaged tissue. Recovery should be judged by trend, not one day.
Escalate how to repot orchid only when symptoms keep spreading despite stable conditions and one clear correction. Use linked diagnosis pages before repeating the same intervention on orchid.
Keep Care Tasks on Track
Use Smart Care to plan watering, repotting, and follow-up checks so routines stay consistent.
- Helpful reminders
- Clear care tracking
- Guidance for each plant